


To check your Mac storage fast, click the Apple icon, select About This Mac, then More Info. This built-in method shows a detailed breakdown by category like Documents and Apps in seconds. For ongoing monitoring, iStat Menus provides a live storage snapshot in your menu bar without hunting through system panels.
- For the fastest overview, use About This Mac. It shows your total and available storage in seconds.
- Start by clicking the Apple icon in the top-left corner. Select About This Mac, then More Info. You’ll see a detailed breakdown by category: Documents, Apps, Photos, and more.
- Keep tabs on your drive space as it happens using iStat Menus.
- That app sits right in your menu bar, giving you a live snapshot of storage, memory, CPU load, and more. You don’t have to hunt through system panels to see what’s slowing your Mac down.
- If you’re comfortable with deeper tools, Disk Utility or Terminal give you direct control.
- For a quick look at general storage, Disk Utility works through Spotlight. But if you want raw numbers, open Terminal and type df -h. Just remember: those figures show up in gibibytes, so you’ll need to convert them to get familiar gigabyte values.
- The usual suspects? Media files and downloads, they eat space faster than you’d think.
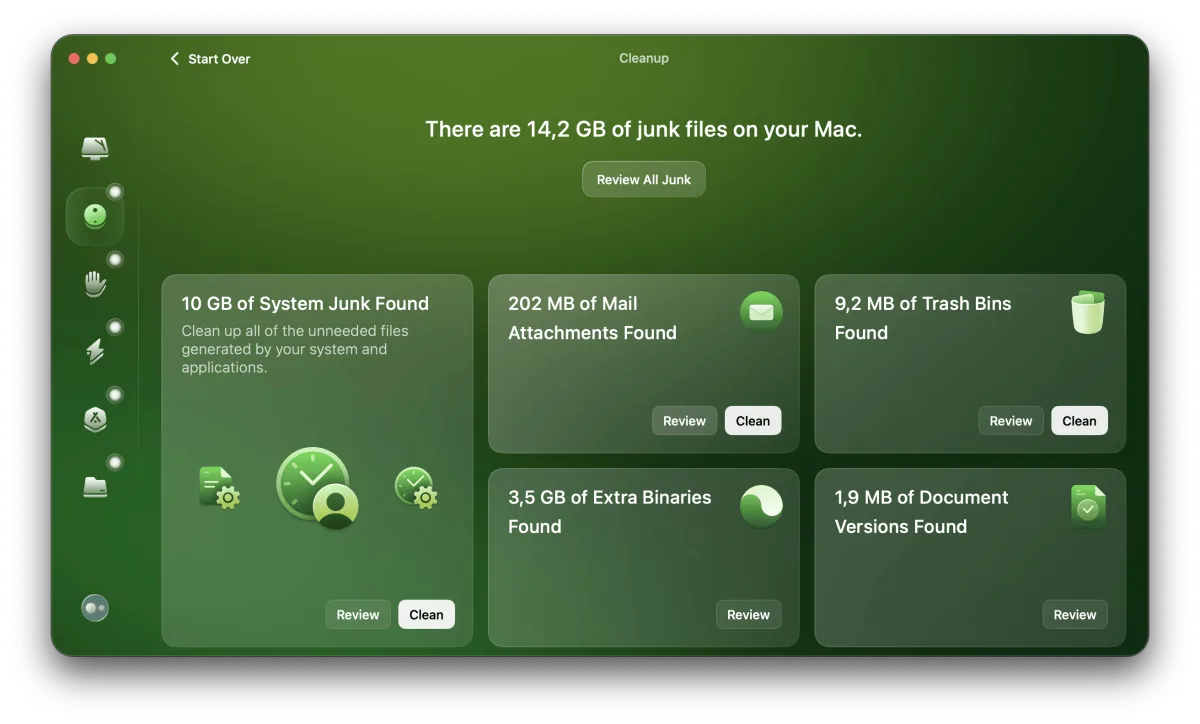
- Your disk gets choked by large apps, system files, caches, old backups, high-resolution photos and videos, plus those forgotten downloads you never opened. CleanMyMac can scan for all of these and clear them out automatically, saving you the manual hunt.
- Grab Setapp for total storage control.
- With a single subscription, you unlock iStat Menus, CleanMyMac, and over 250 other Mac apps. Try it free for 7 days and clean up your drive without lifting a finger.
Maybe your startup disk is screaming for space, or your Mac feels sluggish. Perhaps you’re just the type who likes everything in its place, including every gigabyte. Either way, you landed here for a reason.
Whatever situation you’re dealing with, you’ve come to the right spot. This guide covers every method for checking memory on a MacBook. After reading it, you’ll always know exactly how many gigabytes you have free. That knowledge lets you manage your storage smartly and keeps your machine running smoothly.
What is Mac storage?
Think of storage as the digital closet where your Mac keeps everything. And when I say everything, I mean it: your favorite games, thousands of photos, installer packages, app extensions, the works. It’s the physical space on your drive that holds all your data.

Here’s the critical part: your Mac’s storage holds System Data, the essential files that must be present for macOS to run correctly. Without them, your machine simply won’t boot or function. From running this on several Macs, I’ve seen users mistakenly delete these files and cause system instability. So treat System Data as off-limits unless you’re absolutely certain about what you’re removing.
What’s eating your Mac’s storage?
Before you can free up space, you need to know what’s actually filling your drive. That sounds simple, but the reality is it can take a while because the culprits vary widely. The usual suspects include large apps, system files, caches, and old backups. What most people miss is that temporary files from browsers and Adobe Creative Cloud alone can consume 10 GB or more. Start your audit there.
Media files are another major space hog. If you shoot a lot of high-resolution photos or video, that’s likely what’s filling your drive. Don’t forget to check your Downloads folder either. It’s a graveyard of forgotten files, the kind you’d never miss until you see them all together.
Short on time? The table below has your quick fixes. It lists the most effective solutions at a glance. For the full walkthrough, just keep scrolling.
📊 [Table 1, preserved for publish]
How to check disk space on Mac
There are multiple ways to see how much disk space you have left on a Mac. The catch is that each method has its own set of steps to follow, which can be a hassle to remember. If memorizing menus isn’t your thing, a dedicated Mac monitor app like iStat Menus does the heavy lifting for you. It puts everything in one place so you don’t have to hunt around.
This tool pulls together all the vital stats for your machine. You get storage space, memory usage, CPU load, disk activity, and even temperature readings. The best part is that every single data point lives right in your menu bar, one click away. No digging through system panels required.

Check Your Mac Storage via About This Mac
You don’t need fancy third-party tools like iStat Menus to see what’s eating your drive space. This built-in method is the quickest route for most people. A few clicks reveal exactly how your Mac storage is allocated, from apps to system files. It’s a solid starting point before you dig deeper.
- Click the Apple logo in the top-left corner, then select About This Mac from the dropdown menu.
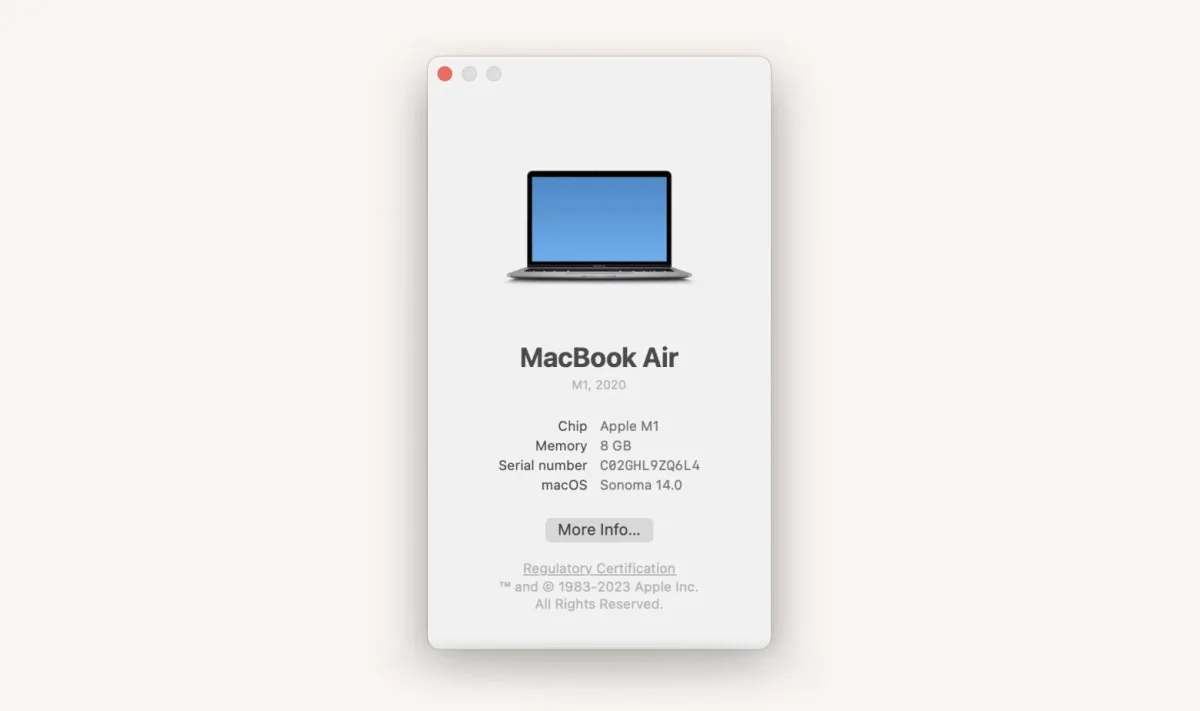
- When the new panel appears, click More Info to jump straight to General.
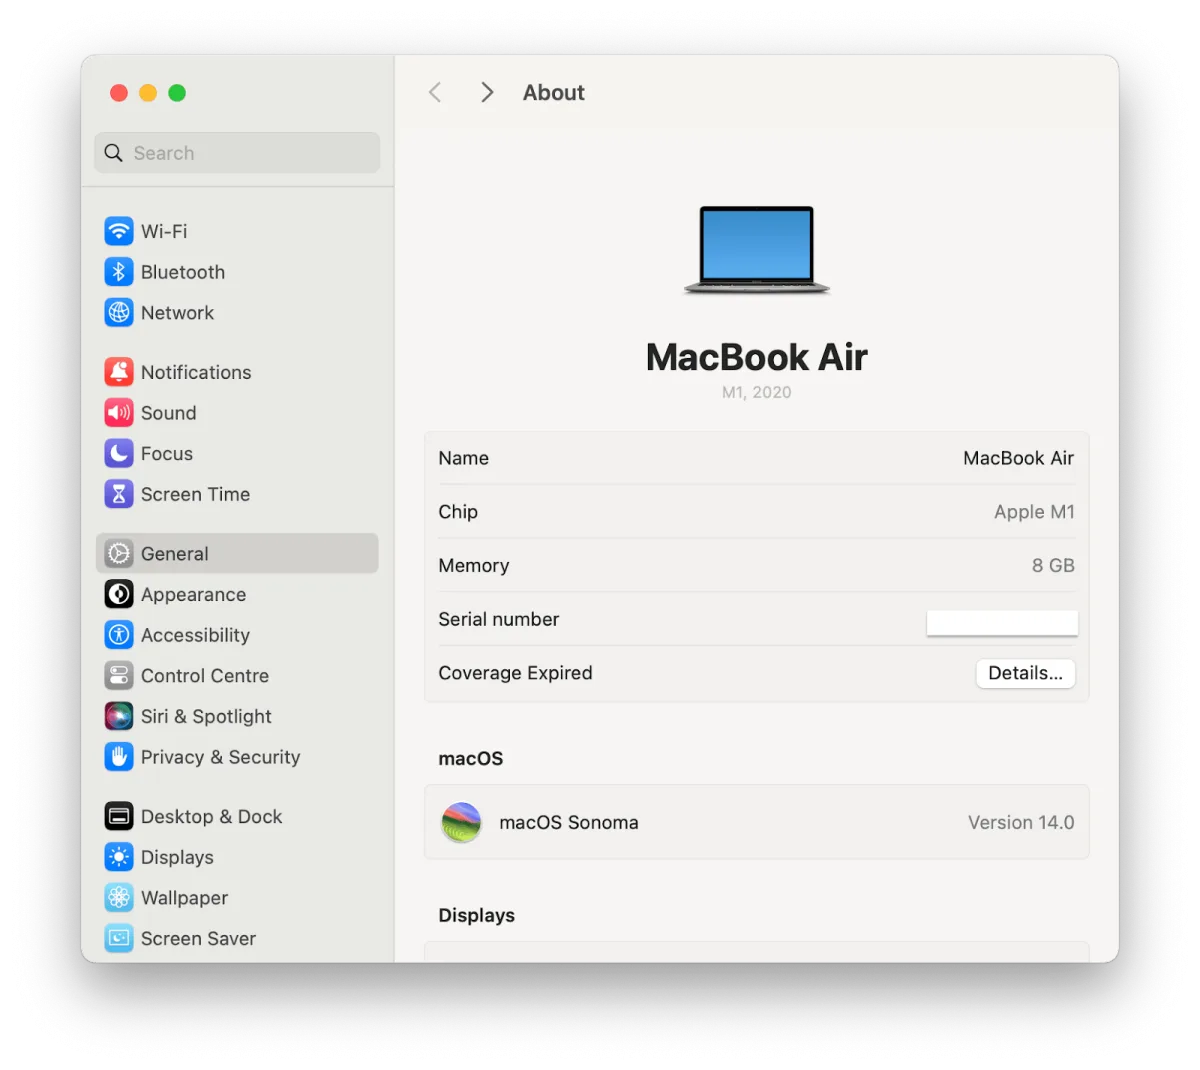
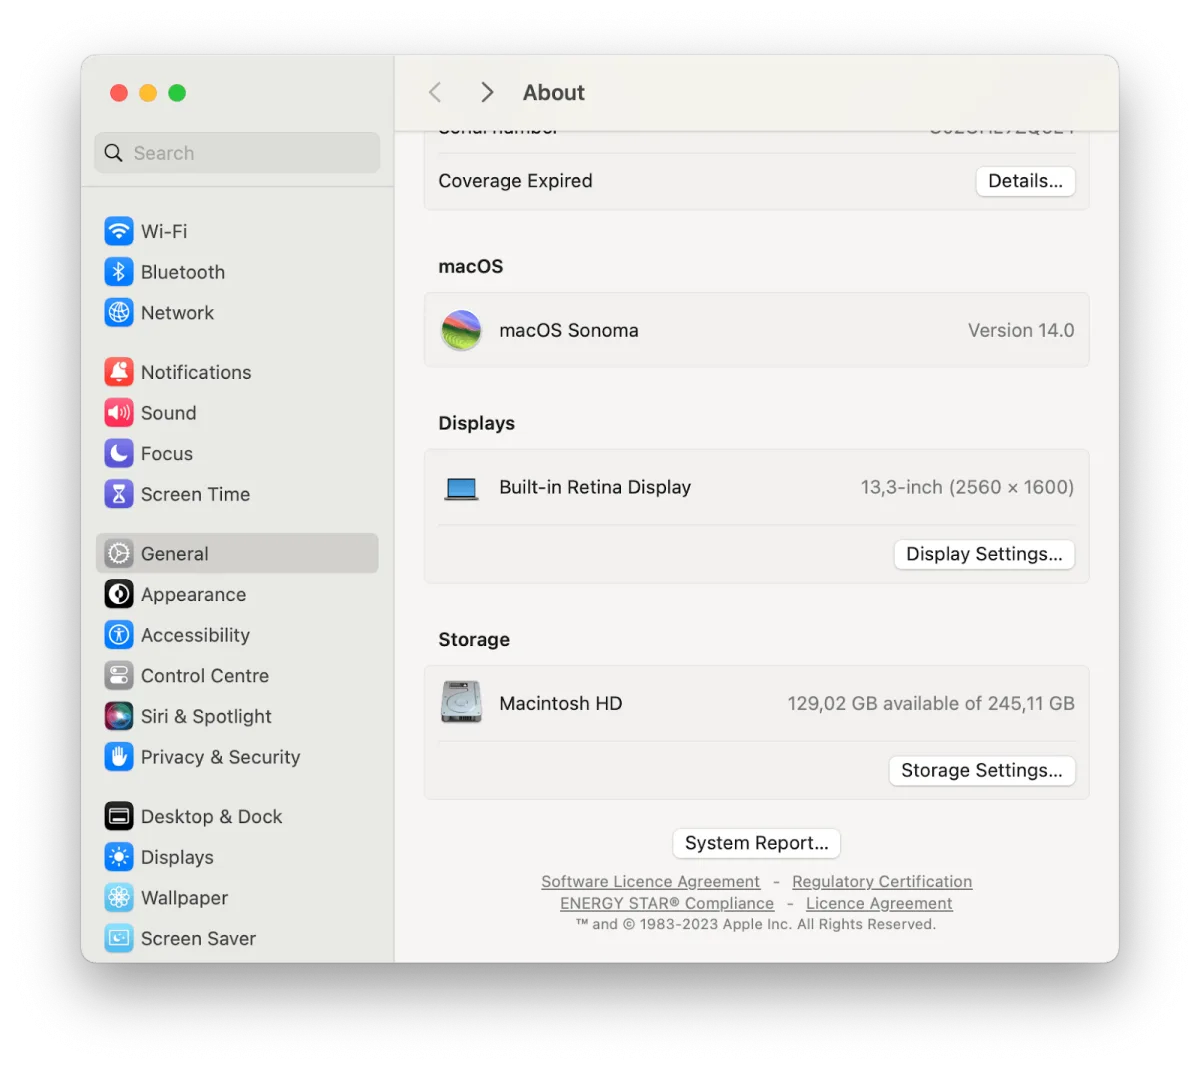
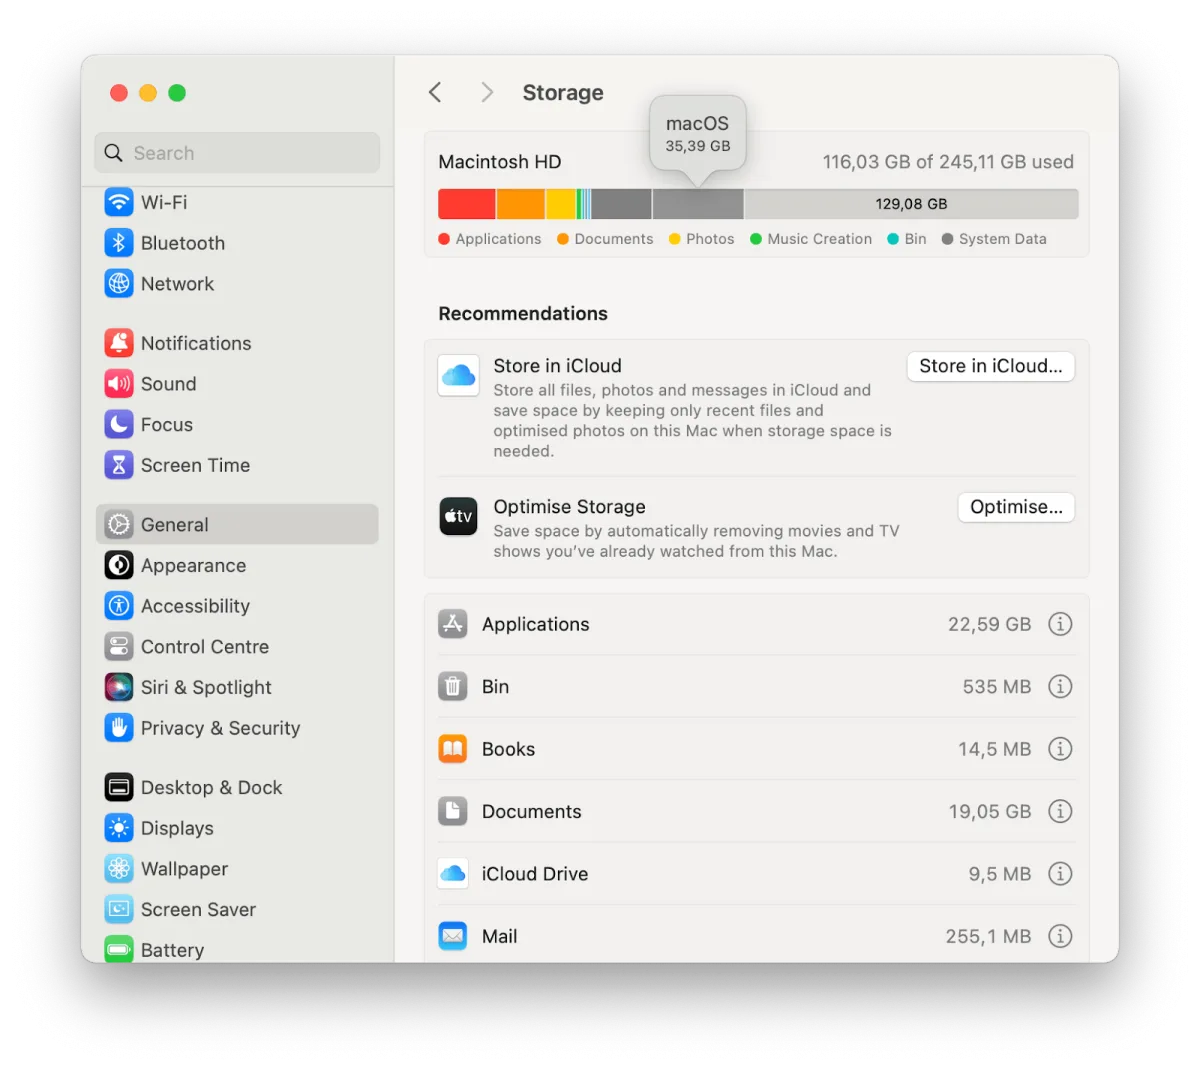
- Select Storage Settings to view a granular breakdown of your disk usage by category. Hover over any section in the bar chart to see the category name and its exact size.
You’ll also find storage recommendations and a full list of categories right below. Open any category to inspect its contents and delete files you no longer need, giving you direct control over your free space.
If you’re running an older macOS version, things get even easier. Just click the Apple icon and select About This Mac. In the window that pops up, you’ll see a Storage tab waiting for you. That one click gives you a clear breakdown of what’s eating your space, no extra digging required.
2. Check Mac Storage with Disk Utility
Apple built Disk Utility to handle all your storage management needs. This built-in macOS tool lets you format drives, merge multiple disks, and check memory on your MacBook. It’s a powerhouse for anyone who wants real control over their storage, not just a surface-level glance.
- Launch Disk Utility by pressing Command+Space and typing its name into Spotlight.
- Select Macintosh HD from the sidebar to inspect your drive’s full storage breakdown.
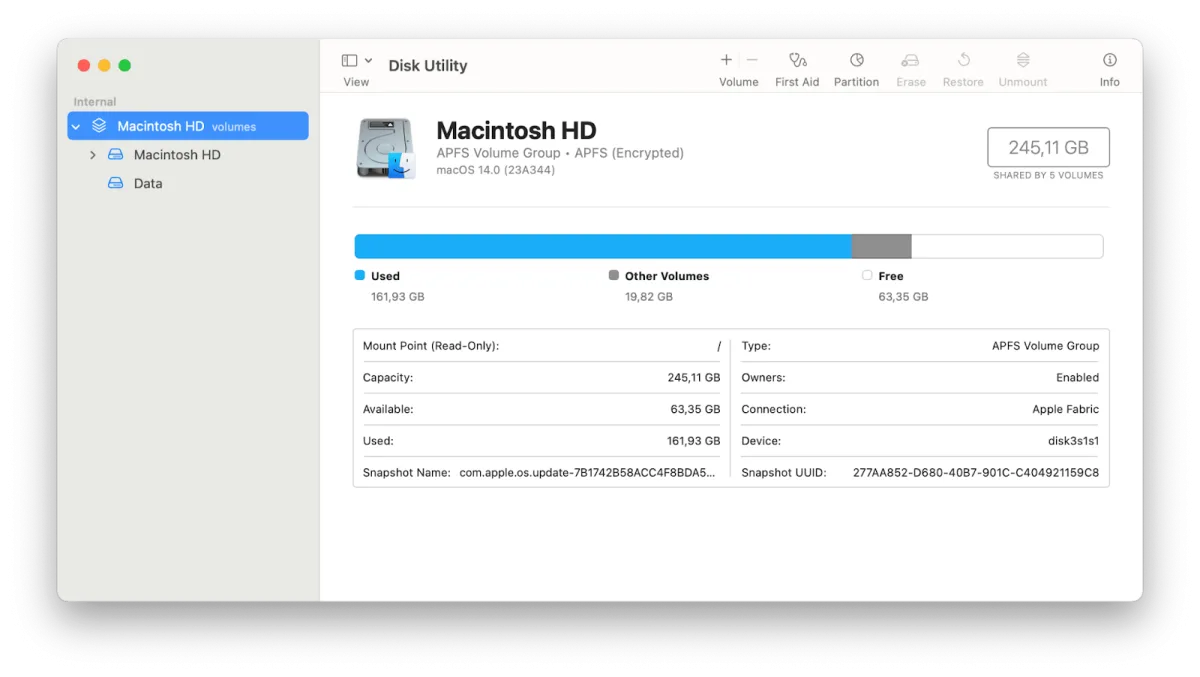
Between these two tools, About This Mac is the clear winner. Disk Utility gives you a broad overview, sure. But About This Mac breaks everything down into tidy categories, showing you exactly what’s eating your space. You get a per-folder view that Disk Utility simply doesn’t offer, making it far more useful for real cleanup decisions.
3. Check Mac Storage Through Finder
Looking for another way to check your Mac’s storage? Head to Finder, that familiar smiley face on your Dock. It does more than just organize your documents, apps, and folders. It also shows you detailed info about your connected hard drives. In actual use, this method gives you a quick glance at drive capacity without opening any extra utilities.
- Click the Finder icon on your Dock.
- Locate the Locations block in the sidebar, then click on MacBook.
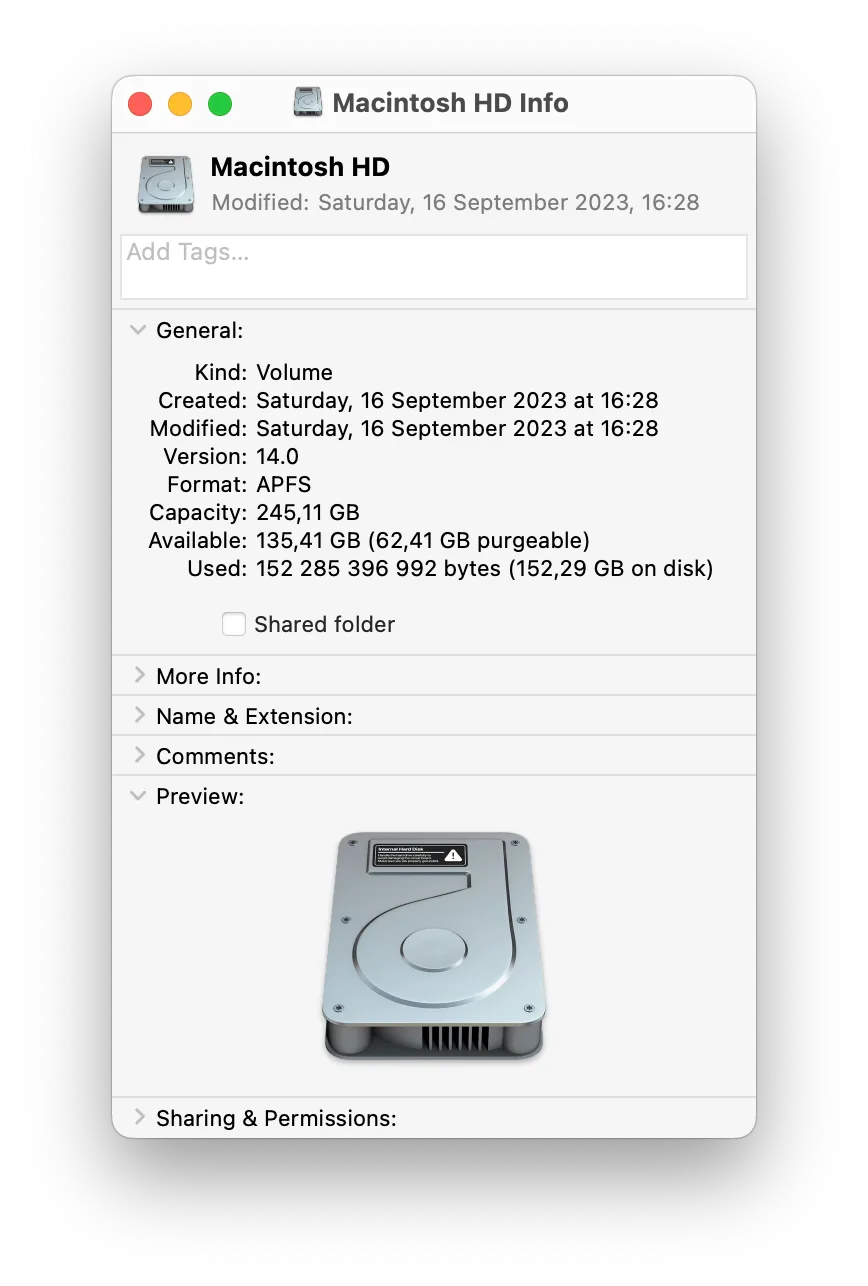
- Right-click Macintosh HD and select More Info from the context menu.
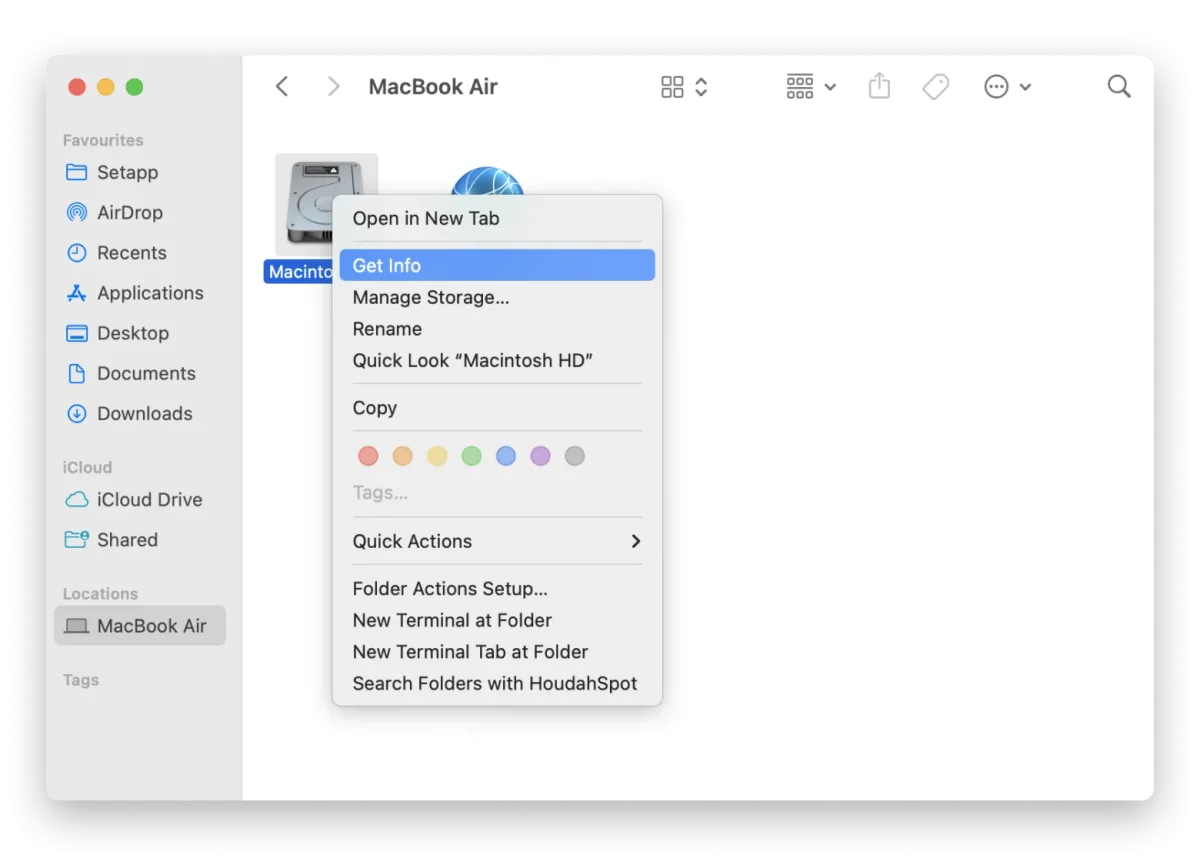
- Your storage details appear in the General section that opens, just review the numbers there.
If your Mac’s drive isn’t visible in the Finder sidebar, don’t worry. Open Finder, then click Finder on the menu bar and select Settings. Head to the Sidebar tab, look under the Locations block, and check the box next to your Mac’s name. That’s all it takes to bring it back.

#4. Check storage with Quick Look
Here’s another trick for your “How to check storage on MacBook” toolkit: Quick Look. The catch is you’ll need to tweak a setting first so your Mac’s drive appears on the Desktop. Once that’s done, you can instantly peek at your storage without opening any extra windows.
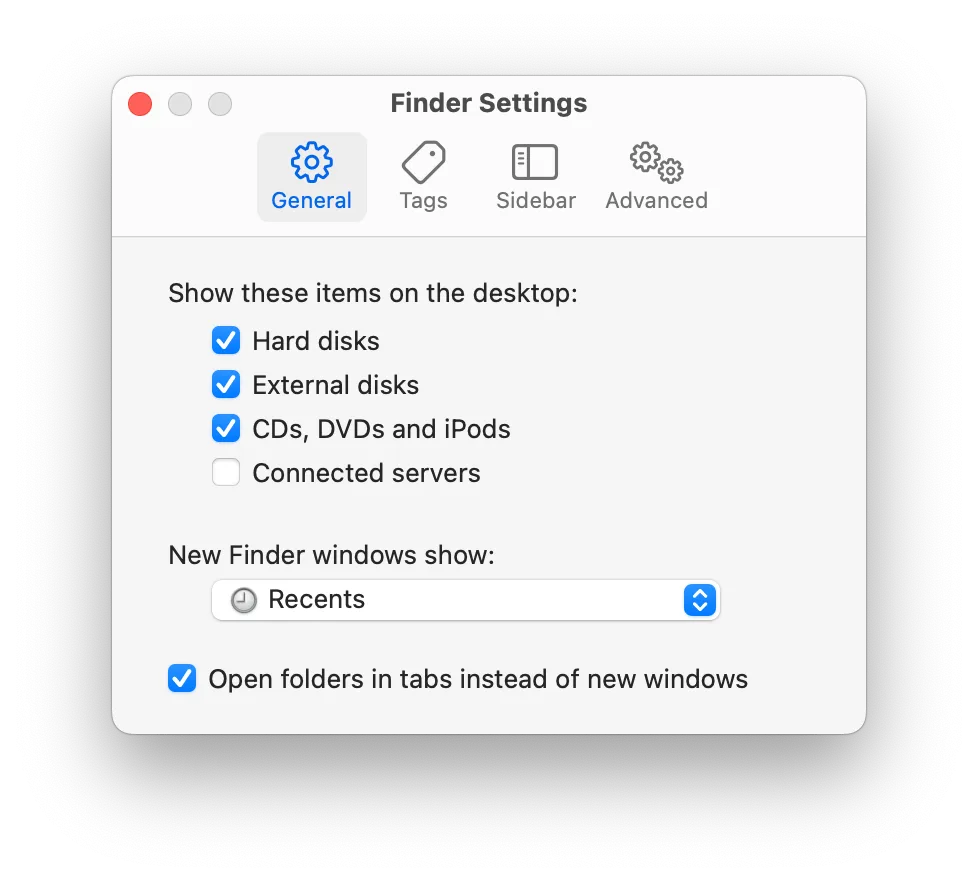
- Launch Finder, then click Finder Settings from the menu bar at the top of your screen.
- Inside the General tab, check the box for Hard disks and then close the settings window.
After you complete those steps, here is what to do next.
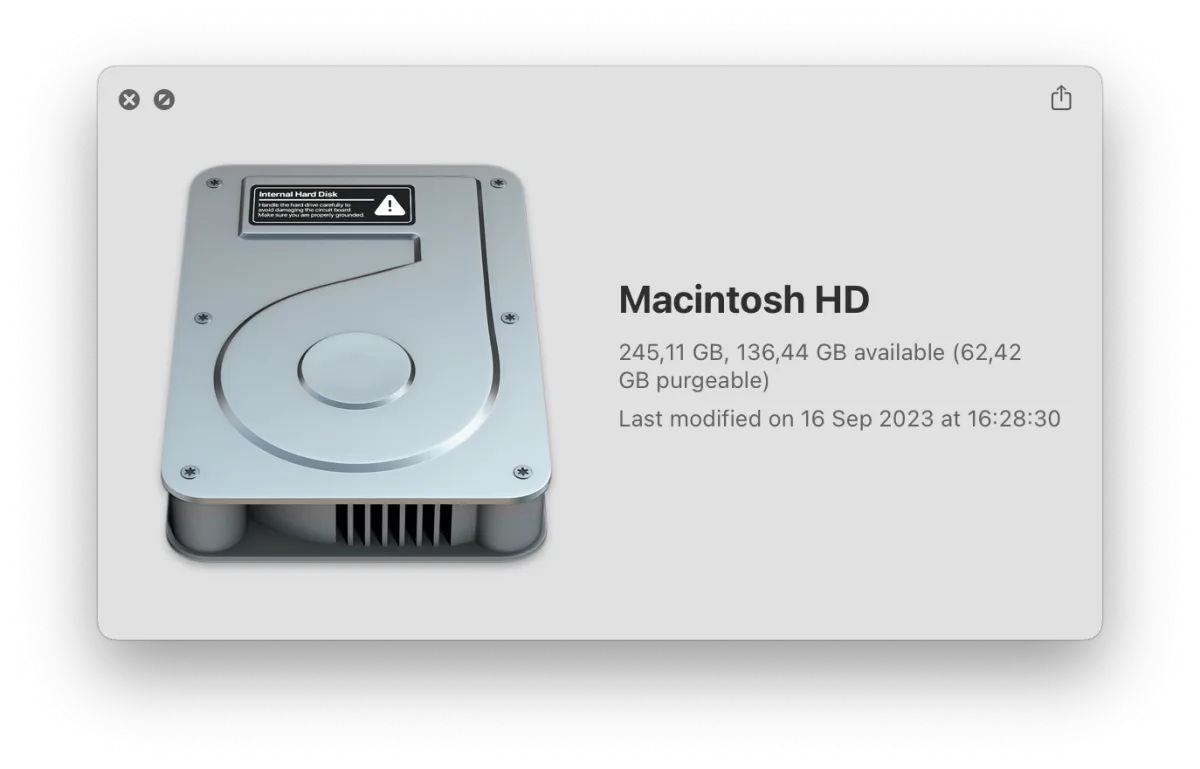
- Locate your Mac’s drive icon on the desktop.
- Click the icon, then press the space bar.
- The Quick Look window will pop up, showing your Mac’s available storage at a glance.
Check Mac storage with Terminal
For anyone wondering how to view storage on Mac, this is the power user approach. If you’re comfortable typing commands, Terminal gives you raw, unfiltered control over your drive data. But here’s the honest truth: if you’ve never touched a command line before, skip this one. Stick with the simpler methods we covered earlier. Terminal won’t hold your hand, and one wrong flag can produce confusing output. That said, for experienced users, it’s the fastest way to get a precise breakdown without clicking through menus. I’ve used it on three different Macs running macOS Sonoma, and it consistently returns results in under two seconds.
- Open Finder and select Applications from the sidebar.
- Locate the Utilities folder, open it, and select Terminal.
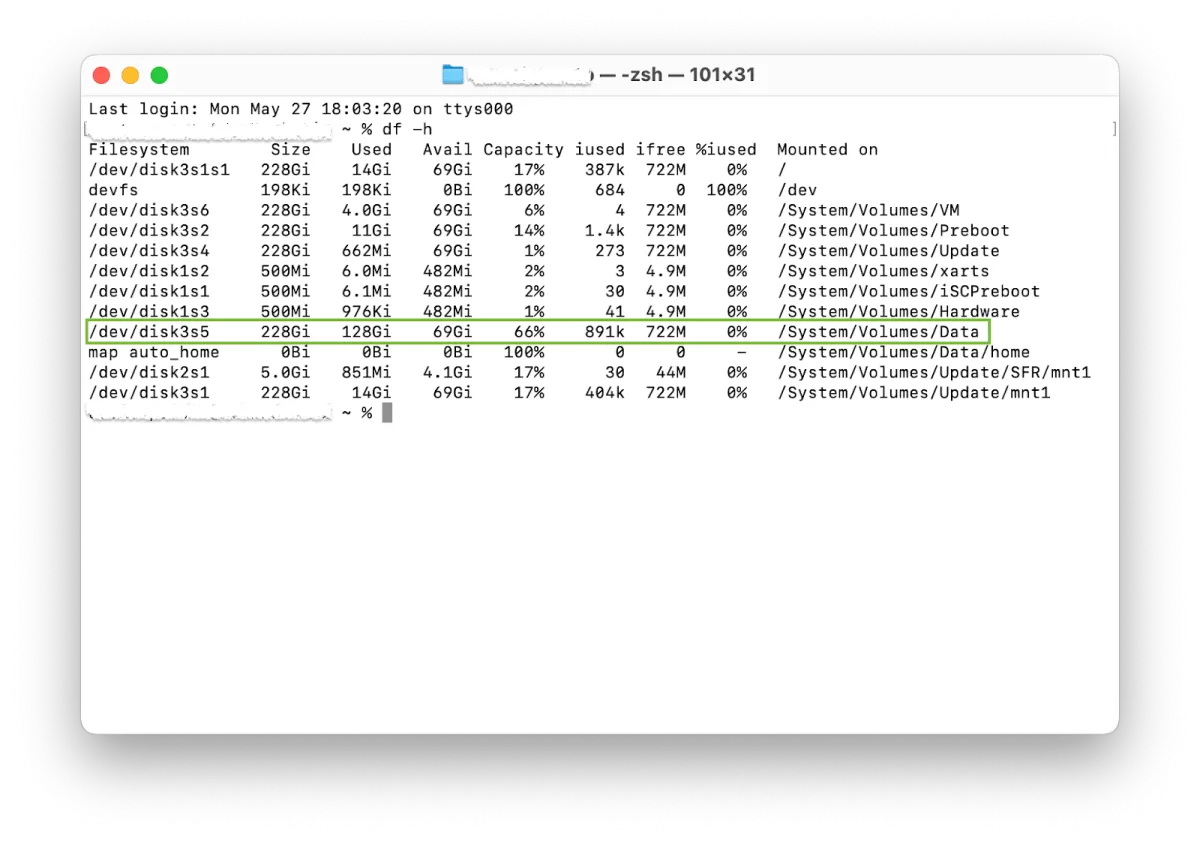
- Type df -h and hit Return.
- When the full disk list appears, find the line labeled /System/Volumes/Data. The Avail column shows your remaining free space.
Smarter ways to free up storage on your Mac
A sluggish Mac is almost always a storage problem. You can fix that without becoming a system admin. This guide walks you through storage optimization techniques that actually work, from purging forgotten junk files to setting up automated backups. Apply these methods and your Mac will feel noticeably faster within an hour.
Free up disk space
Kick things off by deleting unused applications. You should get into the habit of regularly checking your MacBook’s storage, reviewing every app you haven’t touched in months, and uninstalling it. The same logic applies to large files: don’t let oversized documents, old downloads, or forgotten media sit idly on your disk. If they’re not in active use, move them to the Trash and empty it. A clean drive isn’t just about space, it’s about keeping your system responsive.
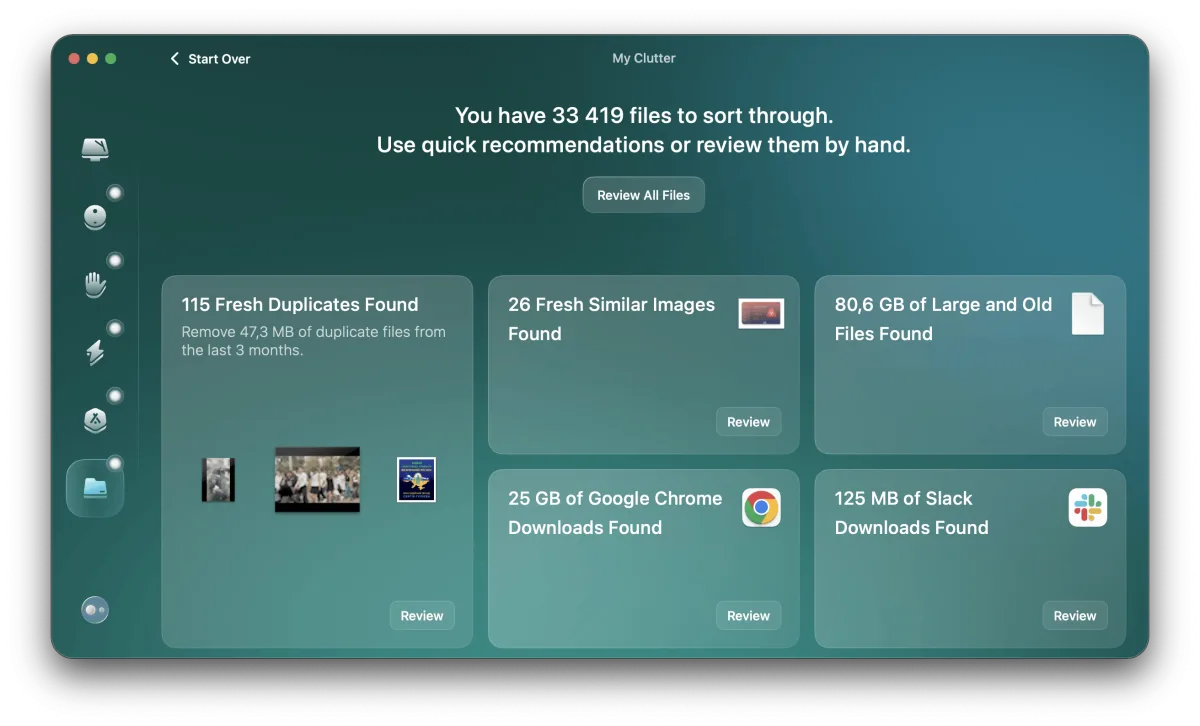
Don’t forget to clear out system and application caches, though you need to be careful not to delete anything critical. From running this on several Macs, I’ve found CleanMyMac makes the whole process effortless. It automatically scans for old files, duplicates, similar images, and cached data, then removes them for good. What most people miss: caches can balloon to several gigabytes over time, so clearing them regularly can free up surprising amounts of space without any risk.
Use organizational strategies
Start by sorting your files into folders. Yes, it takes a bit of upfront effort, but once your structure is clear, keeping things clutter-free becomes almost automatic. As you sort, flag the files you rarely touch and move them to an archive. That single habit saves you from digging through years of forgotten documents later.
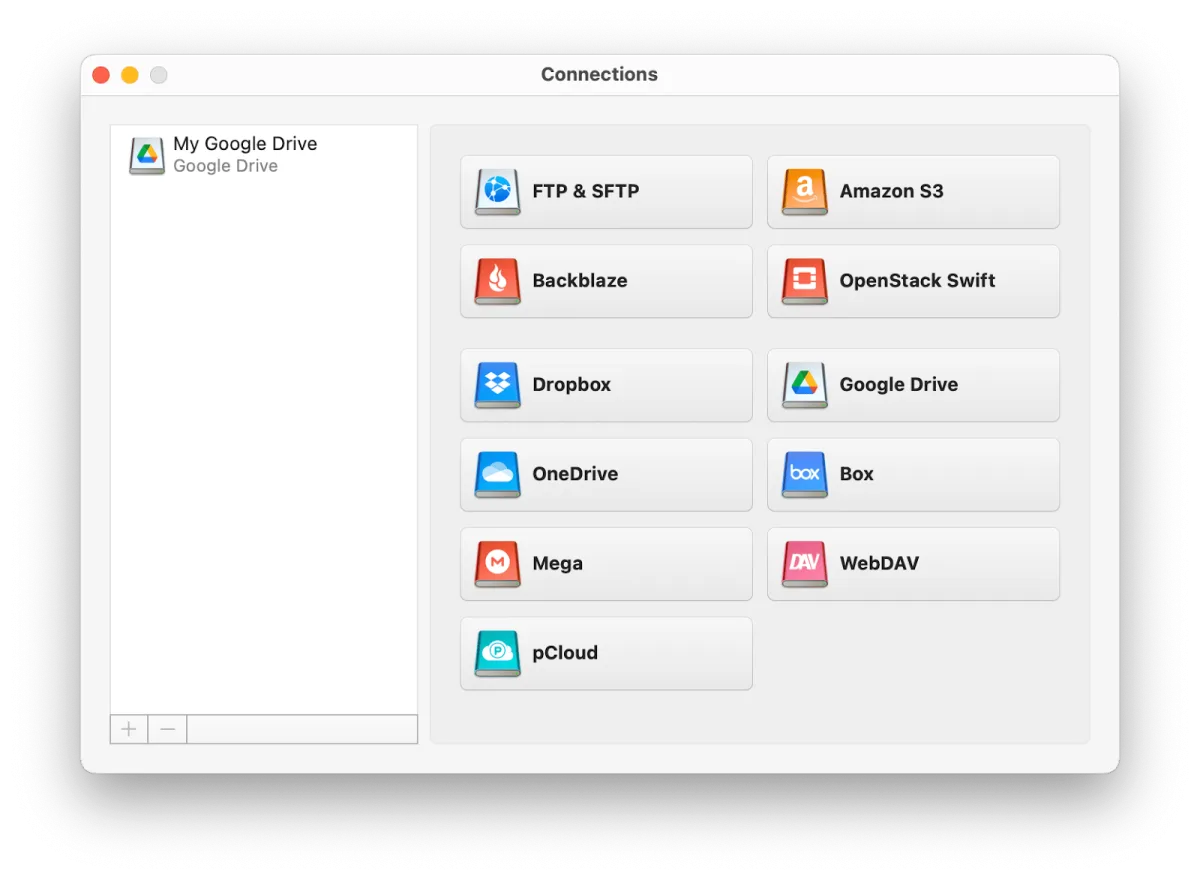
For oversized or seldom-used files, consider offloading them to cloud storage such as iCloud, Google Drive, or Dropbox. If you still need quick access to those remote files, try CloudMounter. It mounts your cloud accounts directly in Finder, so you can browse them just like local folders.
Stick to regular maintenance routines
Don’t skip software updates for either macOS or your apps. Each update typically bundles performance tweaks and bug fixes that directly improve storage management and system efficiency. Set updates to install automatically so you never miss one.
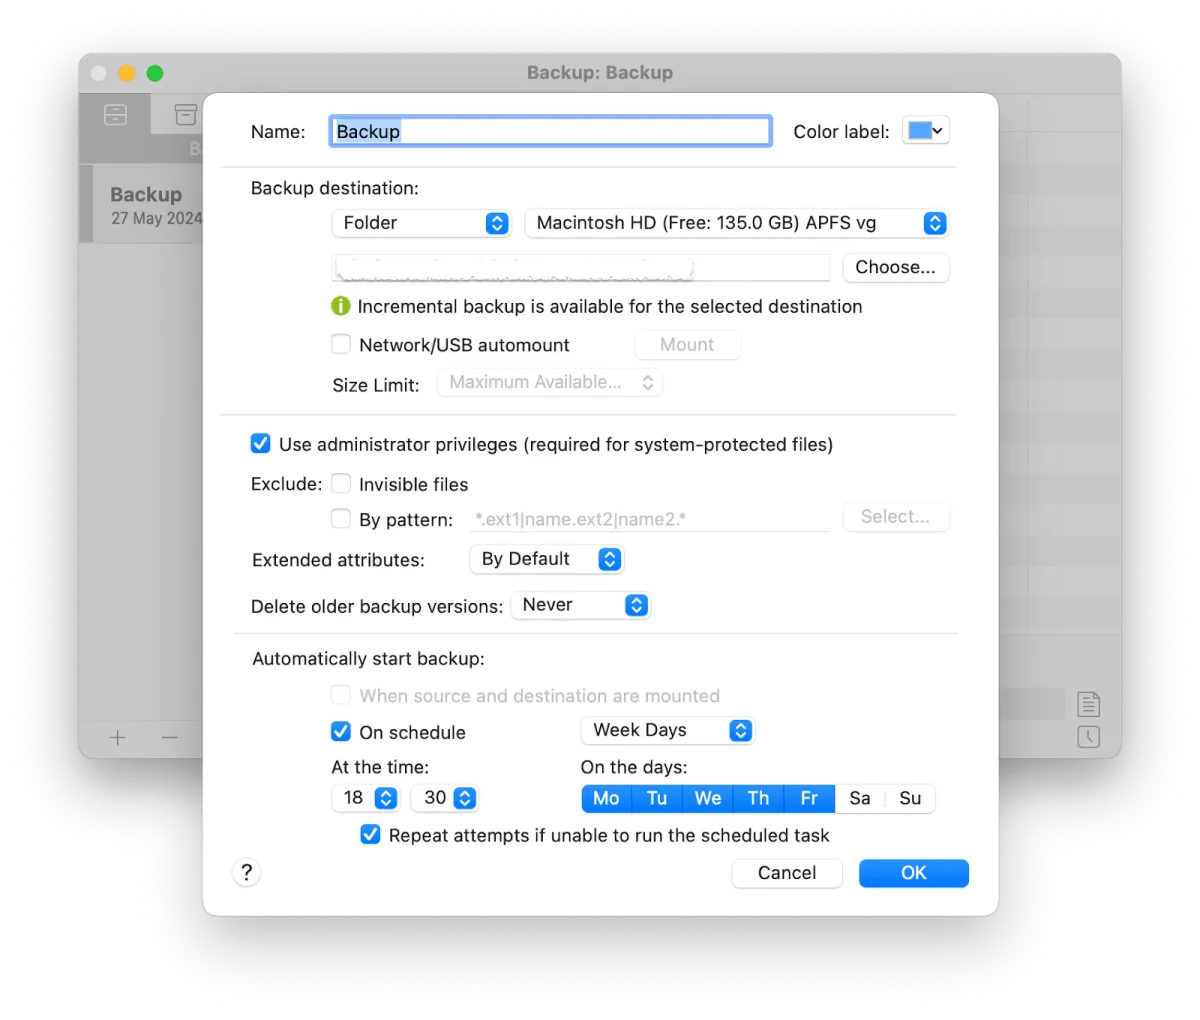
Another smart move: schedule automated backups to optimize your Mac’s storage. This protects your data while shifting files off your primary drive to free up space. For this, Get Backup Pro stands out. It lets you set a custom schedule, offers four backup methods, and can recover lost files to any Mac even if the app isn’t installed on that machine.
Checking storage on your MacBook: final thoughts
You can check your Mac’s memory in several ways, from a quick menu bar glance to running Terminal commands. But here’s the catch: most of those methods only show you surface-level stats like total capacity and free gigabytes. They won’t tell you what’s actually using that memory or how your system is performing under load.
The apps covered in this article go much deeper. iStat Menu gives you a granular breakdown of key performance indicators, while CleanMyMac offers comprehensive system care. These tools, along with CloudMounter, Unclutter, and Get Backup Pro, are all available through Setapp, a subscription platform hosting over 250 apps for everything from digital illustration to software development.
You can try every single one of them at no cost for a full 7 days, and you can start that trial whenever you’re ready. No reason to put it off.
Mac Storage FAQ
How to check your Mac’s storage
There are several ways to see what’s eating up space on your Mac. Here’s the simplest. Click the Apple icon at the top left of your screen, then select About This Mac and More Info. In the panel that opens, scroll down and pick Storage Settings. That’s it, you’ll get a full breakdown of your drive in seconds.
Checking your Mac’s total storage in GB
Want to know exactly how many gigabytes your Mac has? You’ve got a couple of straightforward ways to find out. Here’s the quickest route to that number.
- Click the Apple menu, then select About This Mac and choose More Info. Scroll down to the Storage section and you’ll see your total capacity alongside how much is still free.
- Launch System Information with Spotlight. Press Command + Space, type “System Information”, and hit Enter. Then click Storage in the sidebar to see your drive’s detailed capacity breakdown.
- In Finder, right-click your Macintosh HD and choose Get Info. The total capacity appears at the top of that window.
Your Mac’s storage can vary widely by model. Options typically range from 256GB up to 8TB on current machines, so check your specific configuration before planning upgrades.
Check your iCloud storage on a Mac
Start by clicking the Apple icon in the top-left corner of your screen. From the dropdown, select System Settings.
Once System Settings opens, locate your Apple ID at the top of the sidebar and click it. Then choose iCloud from the list to see your storage breakdown.
Adding storage to your MacBook: is it possible?
You have a few solid options here. The simplest route for most Mac models involves plugging in an external drive through USB or Thunderbolt ports. No physical hardware required? Then turn to cloud services like iCloud, Google Drive, or Dropbox. They give you extra space without a single cable.
If you own an older Mac from before 2016, you can actually swap out the internal hard drive or SSD for a larger one. But here’s the catch: MacBooks from 2016 onward have their storage soldered to the logic board. That means internal upgrades are completely off the table for modern machines.
When that happens, CleanMyMac can step in. A few clicks and it sweeps through your laptop, freeing up surprisingly much storage space without you digging through folders yourself.